You are currently browsing the category archive for the ‘Bread’ category.
Just in the past week I polished off one pound of peanut butter. I have four jars of peanut butter in the pantry, two in the fridge, and one jar at work.
It’s times like these that I realize I need to back away from the peanut butter jar and make something light and simple like a panzanella.
Roasted Vegetable Panzanella
Preheat your oven to 425° and start cutting up some veggies. I used three plum tomatoes, an italian eggplant, half a red pepper, and several baby portobello mushrooms. But don’t listen to me. Use whatever vegetables you want mmmk?
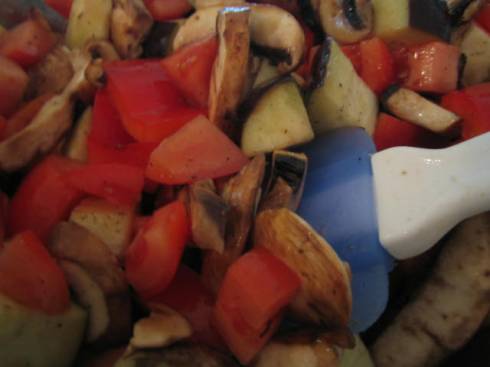
Toss them with some olive oil, balsamic vinegar, salt, and pepper. Spread them out on a cookie sheet and pop them in the oven for 10 minutes.
Here’s where the secret ingredient comes in.
Ok I lied. It’s not really a secret. It’s just homemade bread.
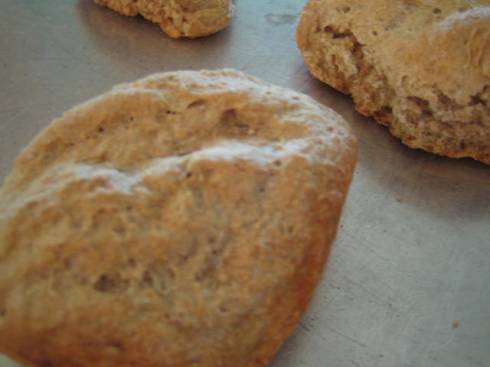
But this is some good bread man. Made with love and whole grains.
So I defrosted a couple of whole wheat oatmeal dinner rolls that have been sitting patiently in my freezer for just a time like this. I cubed the rolls up in bite sized pieces and tossed them with a tablespoon of olive oil and a minced garlic clove.
Pop the bread in the oven right along with the veggies. Toast for 5 minutes (more or less depending on how big you cut the bread) and flip the cubes over to brown on both sides. Check your veggies. Do they need to be flipped too? Do that now. And finish cooking them both off. Maybe a total of 20 min for the veggies and 10 minutes for the bread croutons.
Remove the bread and roasted vegetables from the oven and toss them both together. You can either, A) let this sit around so that the croutons soak up some of the liquid or B) you can be impatient (you are way too important to wait for some dumb bread to soak up vegetable juices) and eat it now!
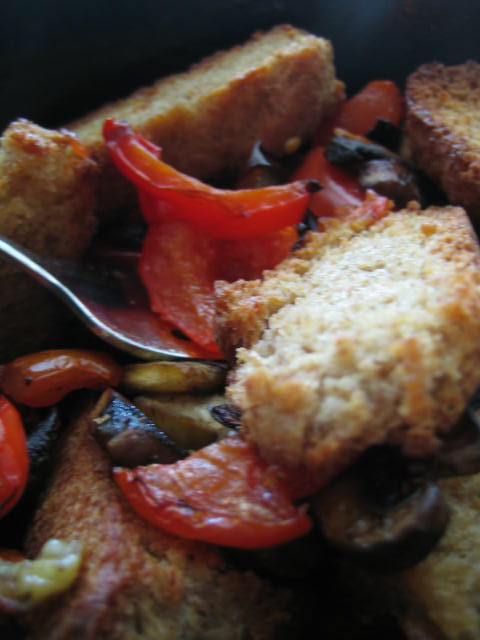
I chose option B obviously. You know you could add some fresh basil, kalamata olives or cannellini beans but I stuck with simplicity and ate it as is.
Sometimes less is more, you know?
I treated my body like a machine throughout college and a few years beyond graduation. Trying in vain to stretch out my ability to play my sport well beyond what was suggested by my doctors and athletic trainers left me with muscles and joints that knot up faster than the average boy scout could tie them.
So thus I find myself in a constant battle to keep my muscles fluid, flexible, and therefore functional. It’s not rare to see me sitting in a chair with a high back wriggling around trying to find a way to work out a knot on my upper back with a pointy part of the chair. Like I’m doing right now. In public. Oops. I should stop, I’m starting to get weird looks. I kind of look like this little guy: Pole Dancing Bear.
I’m going to let you in on one of my secrets to getting out muscle knots. I won’t bore you with the gritty details because this device is highly technical, complicated, and complex….OK, I lied. It’s foam molded into a cylinder shape.

If you’ve had issues with muscle knots and tightness and/or can’t afford a regular visit to your friendly neighborhood massage therapist then I highly recommend trying this sucker out. It costs around $20 and with regular use will help you control your muscle tightness. There’s a great article in this magazine which explains much better than I ever could about how this works and why muscle knots suck. Don’t get me wrong, using a foam roller HURTS (hurts real bad). But it feels so good at the same time. Yep call me crazy, call me a crazy foam rolling lunatic. But try this foam roller once along the length of your entire back and you’ll thank me.
Got your muscles at peace? Now share the love with your tummy with the nooks and crannies of English muffins! I’ve been seeing a few geniuses around the blog world making these bad boys and I just had to make some for myself. Trust me, after you make these you will never go back to store bought.
Lazy Girl English Muffins
(inspired by Wing It Vegan)
Makes three, but double it if you please and freeze the rest for later
1 cup whole wheat flour
1/4 cup old-fashioned oats ground into a flour
1 Tbsp brown sugar
1/2 tsp salt
3/4 tsp yeast
1/2 cup soy milk or water (nuke in microwave until it reaches about 110°F)
1 Tbsp olive oil (optional for you fat-free freaks. j/k I still love you)
Mix all ingredients in a bowl small enough to fit in your microwave (more on that later) for two minutes or until everything is well mixed.
Nuke 1 mug of water in the microwave for about 2 minutes or until boiling. Place dough in the microwave keeping the mug with the boiling water in it and close the door (now your microwave is a warm moist environment perfect for the care and feeding of yeast). Set the kitchen timer for 30 minutes or 20 minutes if you’re really important and got stuff to do.
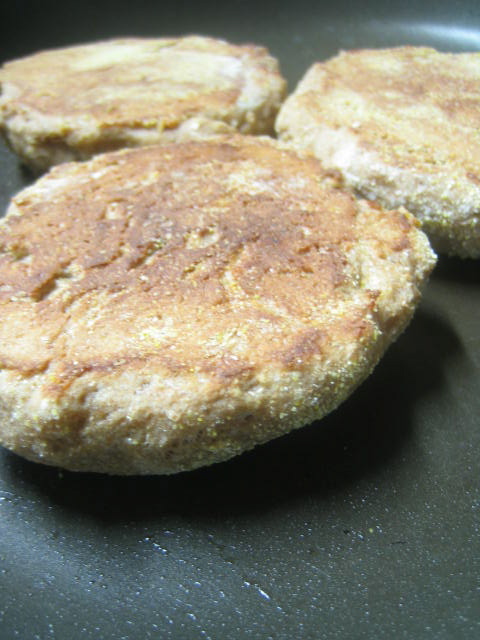
Heat up large skillet over low heat and spray with a non-stick spray or olive oil. Divide dough into three pieces and shape each into a four inch diameter disc (hockey puck style). Put a couple Tbsp of corn meal into a shallow dish and dunk dough in corn meal, coating each side. Cook muffins in pan for about 8-10 minutes each side or until they start turning brown.
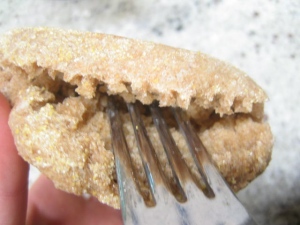
Divide with fork.
Place in toaster.
Fill nooks and crannies with your favorite toppings.
Devour.
Repeat as necessary.
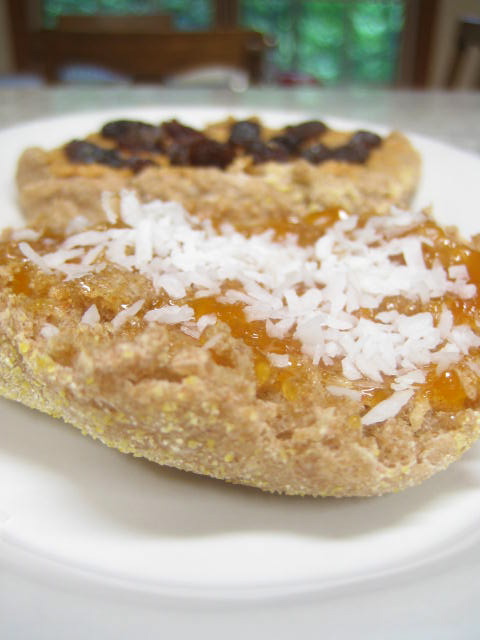
Free Stuff:
Want a bunch of free stuff? So do I. Check out our Gluten Free Gidget for some giveaway madness.

