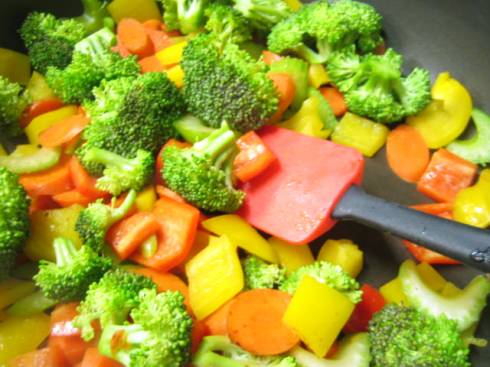
Just in the past week I polished off one pound of peanut butter. I have four jars of peanut butter in the pantry, two in the fridge, and one jar at work.

It’s times like these that I realize I need to back away from the peanut butter jar and make something light and simple like a panzanella.

Roasted Vegetable Panzanella

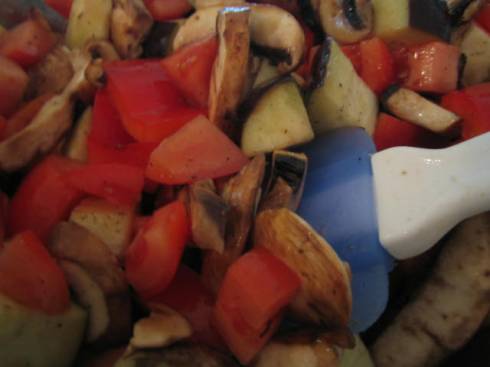
Preheat your oven to 425° and start cutting up some veggies.  I used three plum tomatoes, an italian eggplant, half a red pepper, and several baby portobello mushrooms. But don’t listen to me. Use whatever vegetables you want mmmk?
IMG_4022

Toss them with some olive oil, balsamic vinegar, salt, and pepper. Spread them out on a cookie sheet and pop them in the oven for 10 minutes.

Here’s where the secret ingredient comes in.

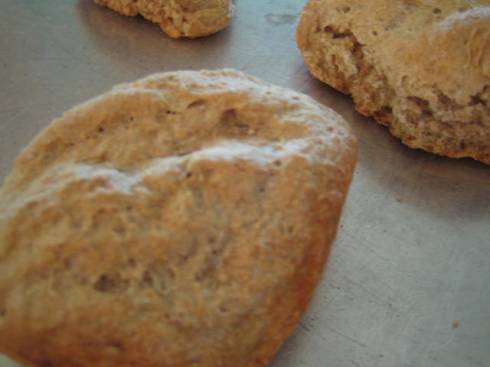
Ok I lied. It’s not really a secret. It’s just homemade bread.
IMG_4026

But this is some good bread man. Made with love and whole grains.

So I defrosted a couple of whole wheat oatmeal dinner rolls that have been sitting patiently in my freezer for just a time like this. I cubed the rolls up in bite sized pieces and tossed them with a tablespoon of olive oil and a minced garlic clove.

Pop the bread in the oven right along with the veggies. Toast for 5 minutes (more or less depending on how big you cut the bread) and flip the cubes over to brown on both sides. Check your veggies. Do they need to be flipped too? Do that now. And finish cooking them both off. Maybe a total of 20 min for the veggies and 10 minutes for the bread croutons.

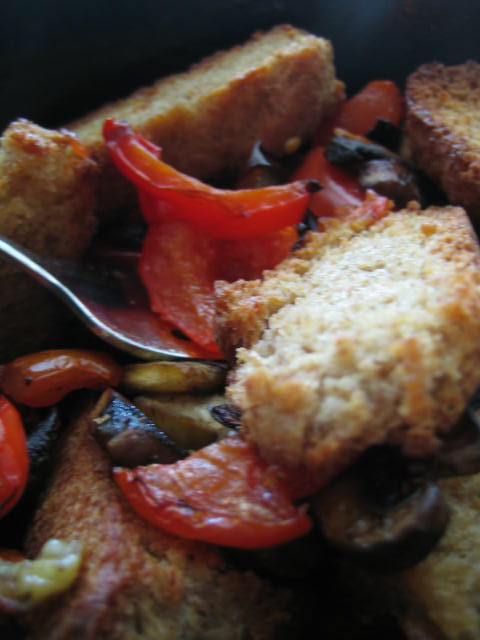
Remove the bread and roasted vegetables from the oven and toss them both together. You can either, A) let this sit around so that the croutons soak up some of the liquid or B) you can be impatient (you are way too important to wait for some dumb bread to soak up vegetable juices) and eat it now!
IMG_4030

I chose option B obviously. You know you could add some fresh basil, kalamata olives or cannellini beans but I stuck with simplicity and ate it as is.

Sometimes less is more, you know?

Two Laws of SweetKaroline Cooking:

1) Everything tastes better fried. Duh.

2) Nuts are yummy. Add them to recipes whenever possible.

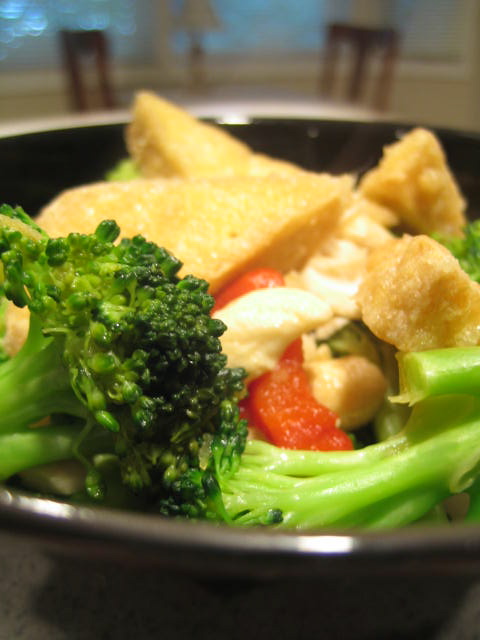
Girl Meets Cashew Tofu

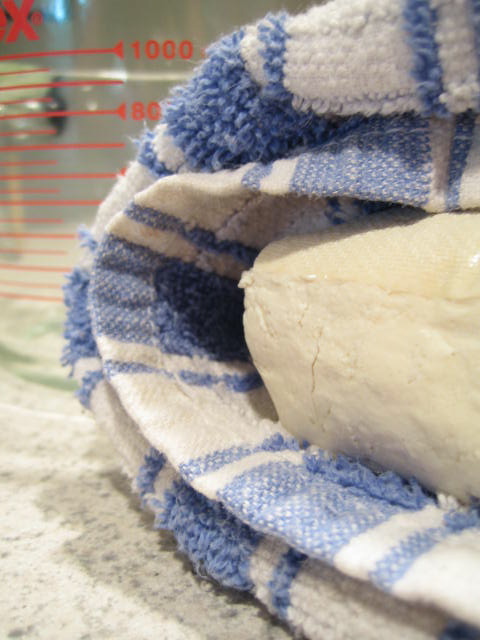
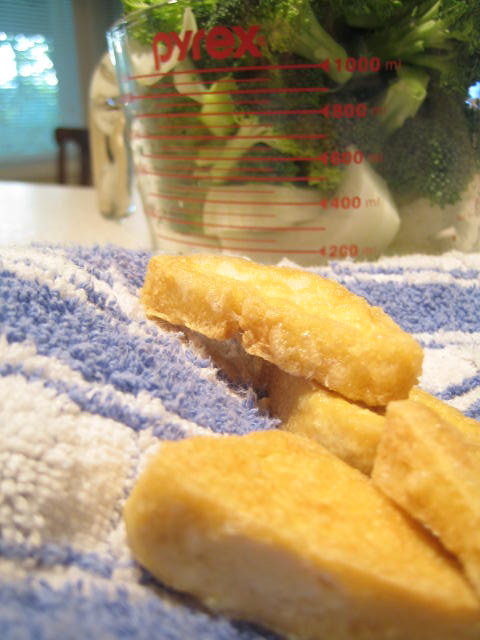
Start by draining your tofu…I just squish the tofu between a towel and put a heavy object on top, usually a big can of pumpkin!

IMG_4006

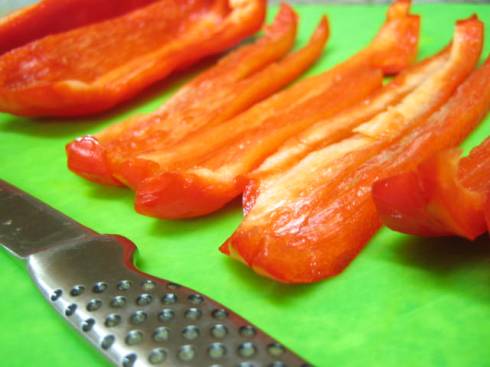
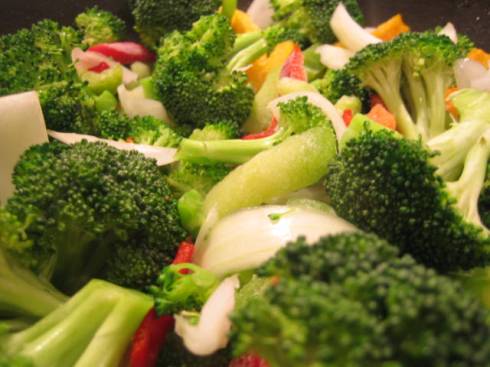
Meanwhile get busy chopping up your veggies.  I used half an onion, one broccoli crown, and one red pepper. Mince up a few cloves of garlic and 1 inch piece of ginger. Roughly chop 1/2 cup of cashews.

IMG_4002

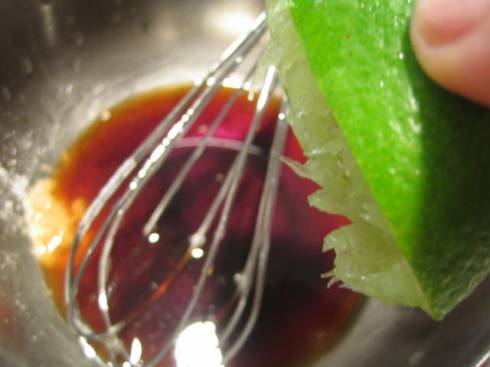
Whisk together the stir fry sauce: 1 Tbs soy sauce, 1 Tbs hoisin sauce, 1 Tbs lime juice, 1 tsp brown sugar, 1 tsp cornstarch, and a pinch of cayenne. Add more cayenne if you like it hot you saucy devil you.

IMG_4009

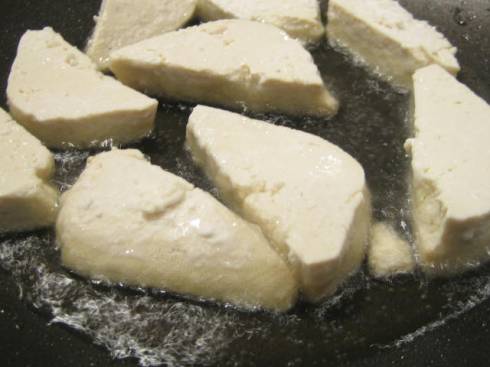
Now heat up a couple of tablespoons of oil in a big wok on high heat. Cut up your tofu any way you wish into bite sized pieces and coat in cornstarch. Place the tofu in the wok gently and fry for about 5 minutes on each side until the tofu lightly browns.

IMG_4011

Remove the tofu from the pan and drain on a towel. Nibble on a piece. MMMM!

IMG_4013

Dump out any excess oil in your wok but keep the heat on it.  Dump your veggies in and cook for about 2 minutes. Now add the ginger and garlic and cook another minute, stirring constantly so that nothing burns.

IMG_4015

Add the sauce and 1/2 cup roughly chopped cashews, cook through for about two minutes.

IMG_4019

Oh yeeaaaahhh. Feeling extra creamy? Add in some coconut milk or cashew nut butter to give the stir fry extra creaminess and body. I’m totally doing that the next time I make this. Totally.

I told you awhile back about a job interview…Well, I was eventually offered the job, yay me! So this past month has been a whirlwind of looking for apartments, moving in, and unpacking all my stuff (how did I get so much stuff by the way?).

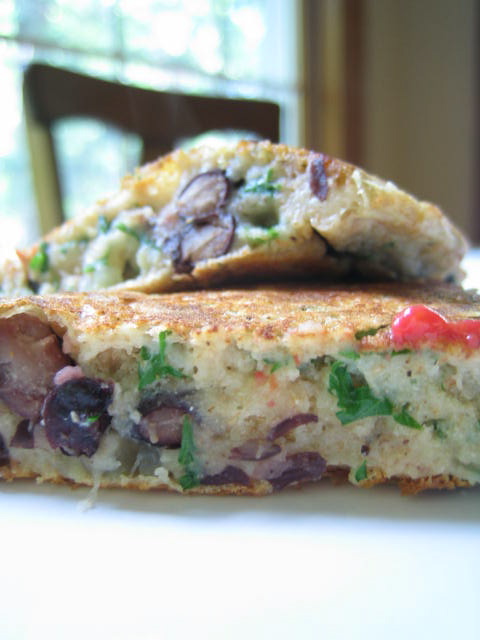
To keep my energy levels up through all of this I needed some fast but tasty eats. I loosely based this Superfood Pancake off of a Minimalist recipe and loaded it with chickpea flour, black beans, and veggies!

Superfood Pancake

1/2 cup chickpea flour

1/2 cup whole wheat flour

1/2 tsp baking powder

pinch of sea salt and ground pepper

1/2 Tbsp olive oil

1 cup water

1/2 small onion, diced

1 clove garlic, diced

1/2 cup roasted cherry tomatoes

1/2 cup black beans

generous handful fresh parsley, minced

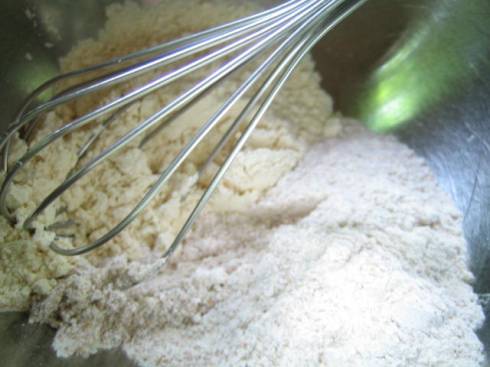
Start by mixing together the chickpea and whole wheat flour, salt, pepper, and baking powder.

IMG_3971

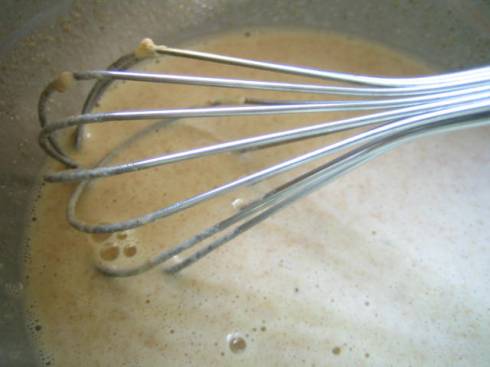
Slowly add water and olive oil while whisking.  Batter will be thin, almost like a crepe batter. Don’t worry your pretty head if there are a couple of lumps.

IMG_3972

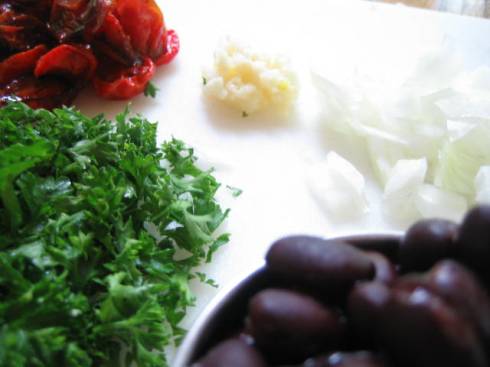
Now this is where you can get creative…I decided to just use up some random things from my pantry and fridge: roasted cherry tomatoes, garlic, onion, black beans, parsley.  But this recipe is pretty flexible and you could use almost whatever veggies, beans, and fresh herbs you have on hand.

IMG_3977

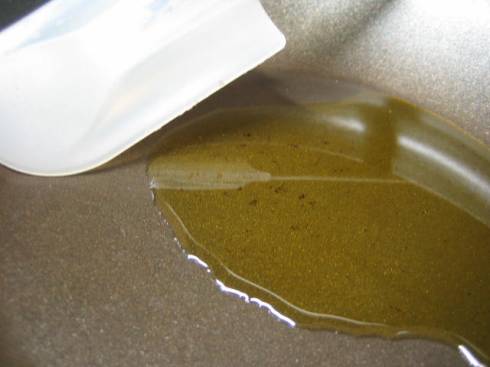
Heat up a good sized glug of olive oil in a medium-high pan. I used about one tablespoon.

IMG_3979

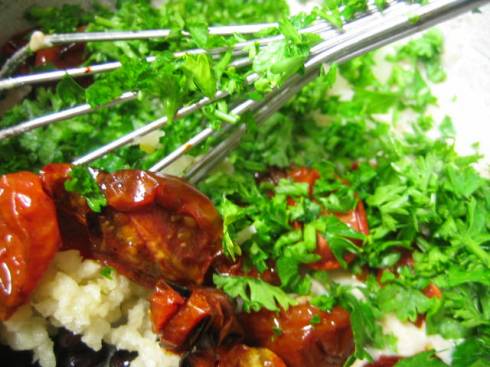
Throw your ingredients into your chickpea/flour batter and mix everything together.

IMG_3981

When the pan is hot, pour the whole mess evenly into the bottom of the pan, and spread it out to the edges with your spatula.

IMG_3982

Let it cook away for 5ish minutes, more or less depending on how hot your burner gets, and flip.  Cook both sides to a golden brown.

IMG_3985

Go ahead and eat the pancake with your fingers or if you want to be more civilized (weirdo) the pancake would be great sliced up and served over some fresh salad greens.

Raw Almonds: $5.49/pound

Raw Almond Butter: $12.49/pound

Now why exactly was I so hesitant to make almond butter at home?  Silly silly me.

IMG_3991

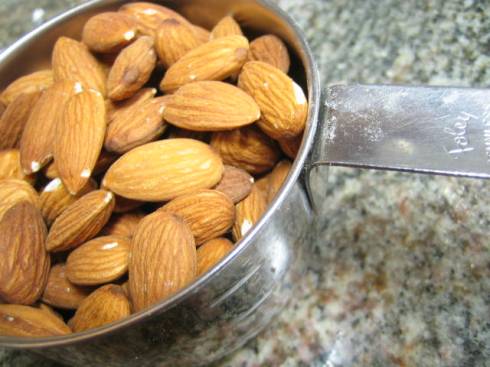
Take some raw almonds, I used about one cup, and throw them in the food processor for 12 minutes, 6 minutes if your almonds are roasted.

IMG_3992

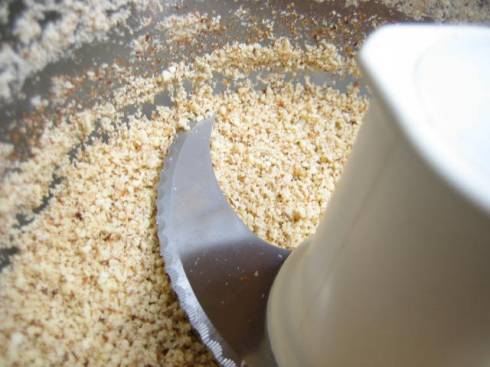
Here they are after about 1 minute…

IMG_3993

…and after six minutes.

IMG_3994

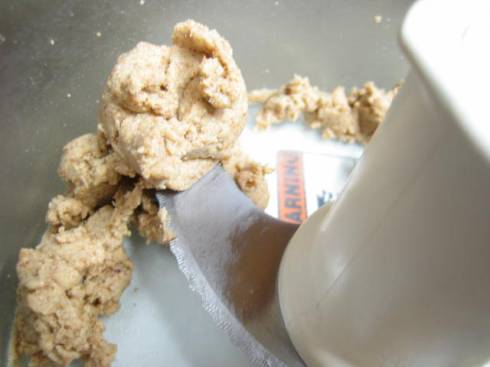
Done and done.

Now how did that Mocha Almond biscotti get in there?! Oopsies.

Free Stuff:

The Health Nut is giving away a quart of coconut oil, ends July 15th

Madsen is giving away a cargo bike, ends July 15th

The Fitnessista is giving away the cookbook, “Living Raw Food”, ends July 13th

An Apple a Day is giving away 3 jars ofCrofter’s Superfruit Jam, ends July 17th

An Apple a Day is giving away some Juice Beauty stuff, ends July 13th

…another from an Apple a Day! She is giving away a really pretty yoga mat and yoga dvd, ends July 13th

Want to see more cool pics of making almond butter? Check out this site.

Fancy 20 step recipes in many cookbooks often underwhelm.  And after you’ve tasted the finished 4 hour long recipe don’t you feel so gipped? Like man I could have spent that time taking a nap.

Have no fear, take your nap, maybe waste some time online shopping for a pair of shoes you don’t need, and then spare ten minutes to make this Slacker Peanut Sauce.

Serve over a beautiful rainbow of veggies and brown rice. Or whatever suits your fancy. I just ate the sauce with veggies cuz I didn’t feel like making rice.

IMG_3951

Slacker Peanut Sauce

1 cup coconut milk

1/2 cup pb

1/2 onion, grated

1 garlic clove, grated

1 inch ginger root, grated

2 Tbs soy sauce

2 tsp sugar

generous pinch cayenne

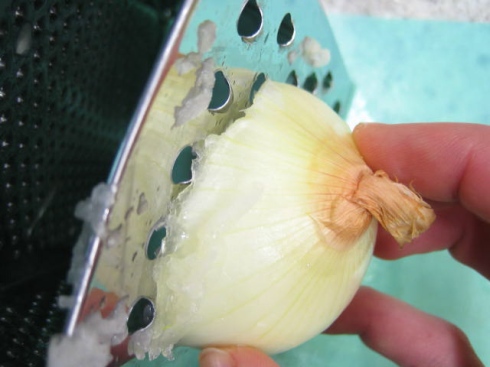
Step one: Grate the onion, garlic, and ginger.

IMG_3946

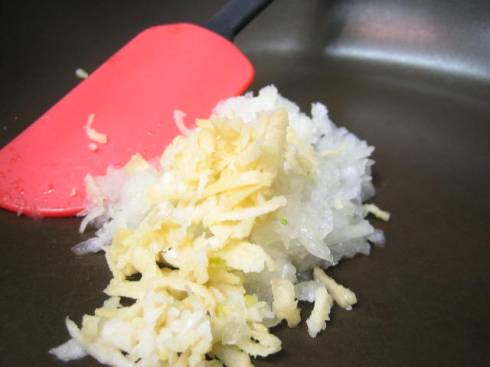
Step two: Saute the onion, garlic, ginger for 2 minutes.

IMG_3957

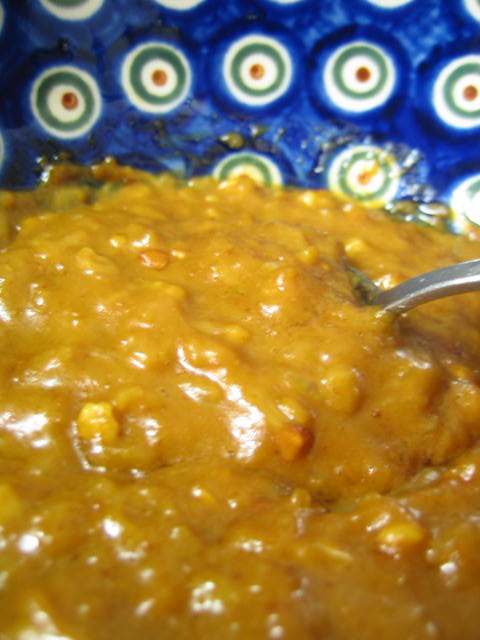
Step 3: Add the rest of the ingredients and bring to boil. Remove from heat.

IMG_3962

Don’t be fooled by its looks folks. This stuff is liquid gold. Only tastier.

I sauteed my veggies for about 5 minutes with a splash of water.

IMG_3961

Remove veggies from pan, add Slacker Peanut Sauce on top, eat with chopsticks.

IMG_3966

Feeling extra slackery? Use a fork. Mmmmm.

Ralph Wiggum is one of the more unique characters on the Simpsons. Ralph is a special kid and says many many special things.

One of my favorite Ralph Wiggum quotes is when Ralph and Lisa’s class is about to dissect worms. Each student has a worm on their desk and when the teacher tells them to start dissection Ralph tells the teacher that there’s a problem, “My worm went in my mouth and then I ate it…can I have another one?”

The teacher tells him that there aren’t any more worms and he should just try to sleep.

Ralph responds, “Oh boy, sleep! That’s where I’m a viking!”

Oh Ralph, you and me both kid.

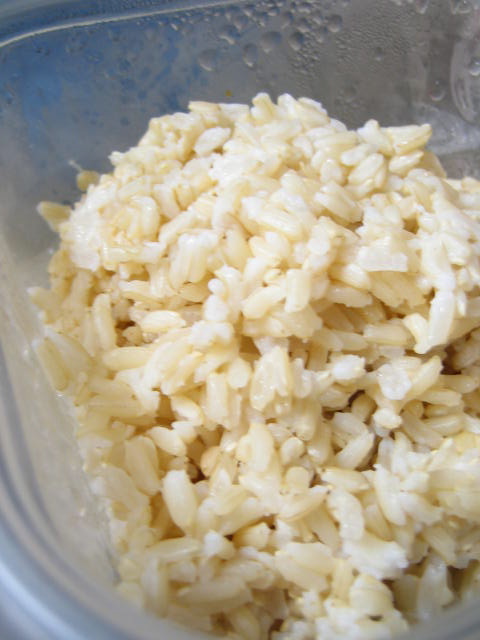
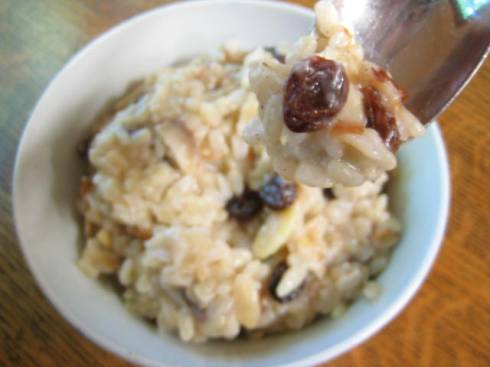
Cardamom is a commonly used spice in Scandinavian (Viking descendants) desserts and breads. I had a huge tub of brown rice sitting in my fridge begging to be used up.  And Viking Island Rice Pudding was born. Food of champions and Vikings.

IMG_3911

Viking Island Rice Pudding

(Serves four)

3 cups cooked brown rice

1 1/2 cups soy milk

1/2 cup coconut milk

1/2 cup toasted sliced almonds

1/2 cup raisins

1/4 cup sugar (more or less to taste)

1 tsp vanilla

1 tsp cardamom

pinch  salt

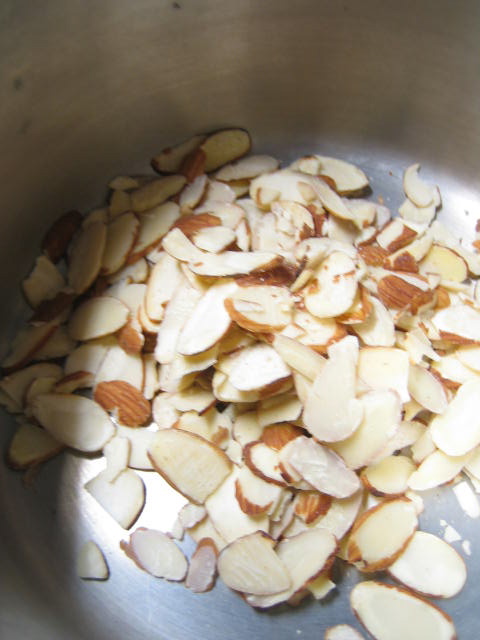
Begin by toasting your almonds in a dry pan over medium heat, stirring constantly and pulling off the heat as soon as they turn light brown.

IMG_3914

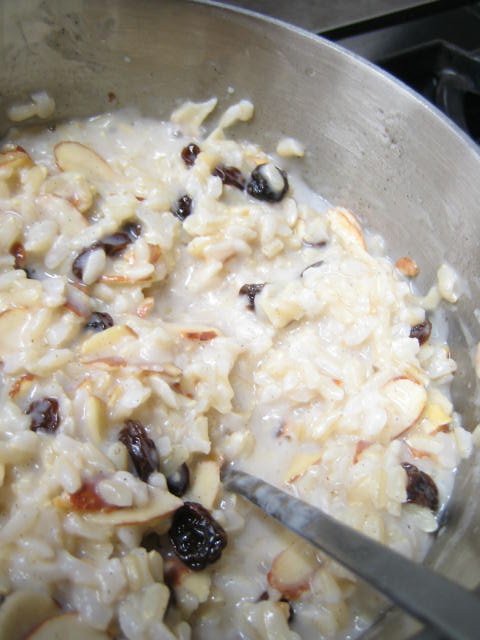
Dump in your brown rice, soy milk, and coconut milk. Bring to a boil, turn down the heat, cover, and cook on low for about 15 minutes (the more you cook it the creamier it will get, just be sure there is enough liquid). I don’t have dentures so I appreciate a little bite to my pudding.

IMG_3915

After 15 minutes add in the rest of the ingredients and cook for another couple of minutes. Taste for salt or sweetness.

IMG_3926

If you are like Ralph: accidentally ate your worm and are told to just go to sleep, this Viking Island Pudding’s creaminess will put you right to sleep so you too can be transported to Viking Land.

Thanks Ralph, you’re the best.

Good news!  A couple weeks ago I had a phone interview for an incredible job.  Like I would probably die on the spot if I got this job.  Anyways, I had just about given up hope for ever hearing back from them but I just got a call to come in for a second interview next week!

IMG_3706

Do you ever look in your fridge and see six or seven random containers of veggies/beans/and grains?  And then think to yourself ugh I don’t wanna just eat these up plain cause that’s super boring? But I Hate (capital ‘H’ for emphasis) throwing food away. That brown dog wouldn’t eat it either unless I poured a whole jar of peanut butter on top of it.

Speaking of brown dogs, I tried giving her a blueberry this morning and she played with it for a good five minutes, tossing it in the air and what not until she just dropped it uneaten on our carpet. Blueberry crushed into beige carpet=not good.  So she’s never going to get another blueberry again.

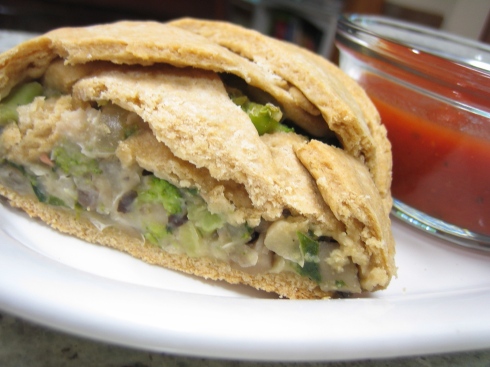
Inspiration came at the hands of the Dog Hill Kitchen and her assortment of IMG_3896pies based off of a recipe for pocket pies by the know it all Alton Brown. There’s no real recipe for the filling…I just had some mushrooms, onions, spinach, broccoli, and white beans that needed to be used up.  MAKE SURE that your filling tastes good just by its lonesome because it will not be magically transformed to yum just by putting it in this pie-type thing. Use good judgement with your spices and take a sample of the filling to make sure it tastes yummy.  I used salt, fresh ground pepper, and some vegetable bullion.

Make the dough (I cut the recipe in half) according to the Alton Brown recipe subbing non-dairy milk and omitting the egg wash.

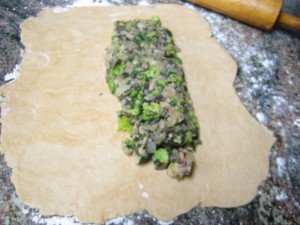
Roll out the dough on a lightly floured surface to an 1/8th of an inch and place your filling on the center.

IMG_3897

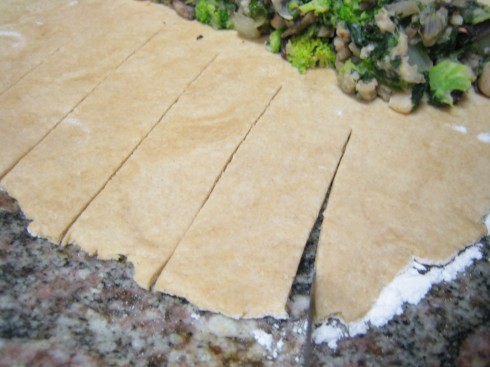
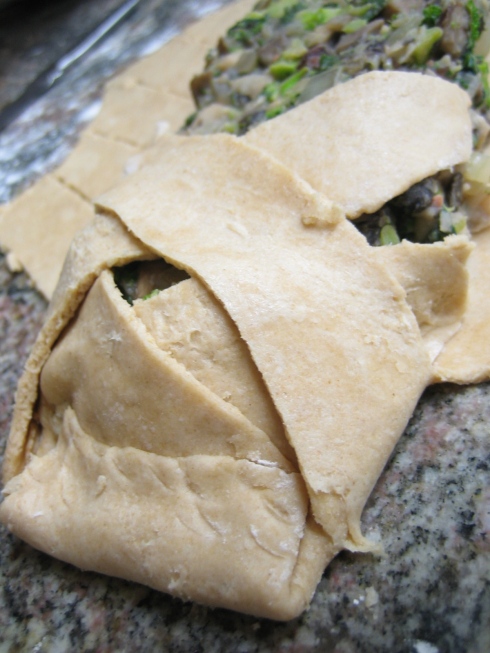
Cut diagonal slices into the dough down each side making them about 1 1/2 inches wide. Start folding the slices over top your filling, alternating left and right sides.

IMG_3900

Pinch off the ends and optionally brush the top with a cornstarch slurry (gives it a bit of a sheen, kind of like an egg wash would).

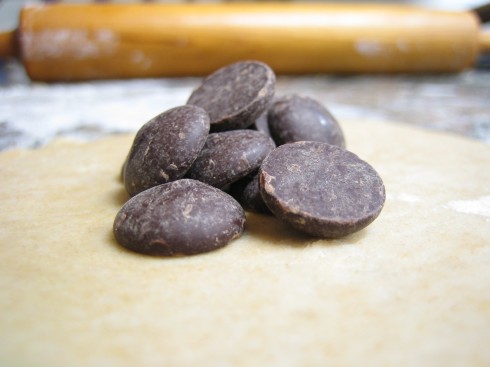
Do you have a little extra dough left over? Or did you make sure to have some leftover? You’re crazy! Fill with chocolate chips and maybe a dollop of peanut butter. Eat a couple of chocolate chips now while no one is looking! Life is short.

IMG_3905

Bake at 375ºF for about 30-40 minutes. Serve with your favorite tomato sauce or depending on what you put in it a nice mushroom gravy would be great too.

IMG_3909

You have successfully used up all those containers of random leftovers in your fridge and the end result is mighty pretty I must say. Eat up!

I was doing a bit of painting yesterday in our barn (you know you’re a redneck when…) and the weather was doing some craaazy things.  There was a rain storm going on and the thunder was so loud I thought that the lightning was going to strike only a couple of feet from where I was standing. So I immediately got my metal rod and started running around outside. Jk. And then it started to hail!  So cool!  Of course it was only cool because I was safe and protected with a great view of all the weather madness and not stuck driving in it. If I was actually stuck in that madness I would have been cursing the devil.

Ever since I made graham crackers I’ve been dreaming about making chocolate graham crackers.  I am of the belief that practically everything can be made better with a dose of chocolate. In this case I was totally right. I’m just going to pat myself on the back for a bit. Sit tight.

VeganYumYum’s recipe for graham crackers tweaked a little to make chocolate crack:

  • omit the cinnamon
  • double the vanilla to 2 tsp
  • reduce white flour to 3/4 cup
  • add 1/4 cup cocoa powder

Follow the rest of the recipe and rolling and such according to her directions. Take a quick nap while the dough is resting.

IMG_3847

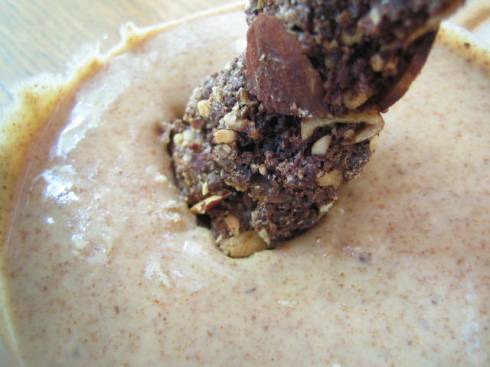
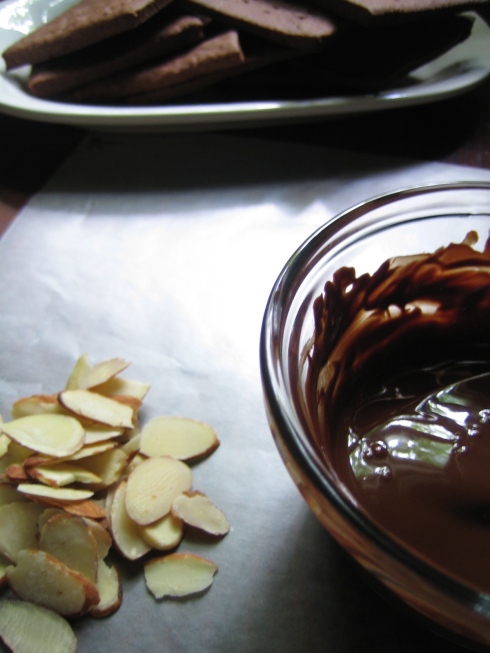
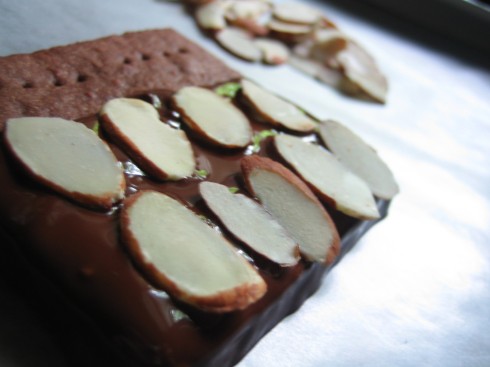
After baking and cooling the chocolate crack grab your best dark chocolate and melt in the microwave. Grab some slivered almonds as well.

IMG_3878

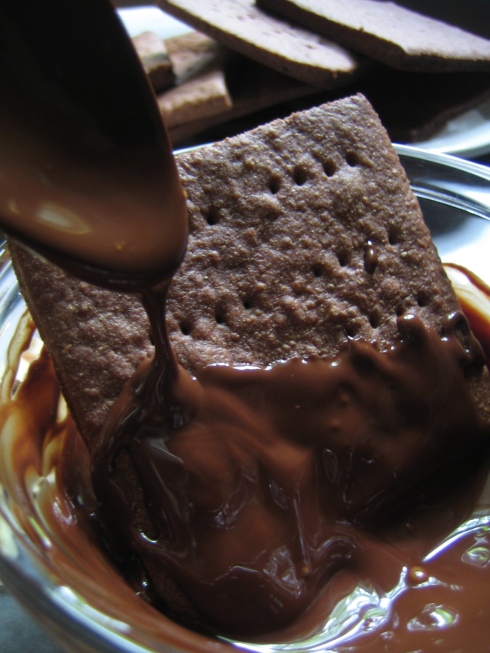
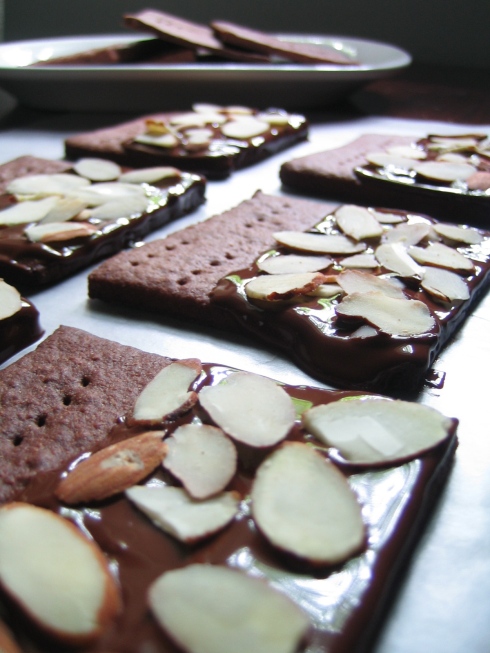
Give your chocolate crack a dunk in the melty chocolate and place on a piece of waxed paper.

IMG_3886

Grab your slivered almonds and place them evenly in file on top of the melted chocolate.

IMG_3889

Get real fidgety and throw the rest of the almond slivers à la Jackson Pollock randomly on the rest of the chocolate crack.

IMG_3893

Wait patiently for chocolate to set…or be really important (You gots stuff to do!) and stick in the freezer for a few minutes.

Eat and thank the devil for making you do it.

Free Stuff:

Healthy chef giveaway thru Wing It Vegan

Free Coupons from An Apple A Day

Free Yoga from Heather Eats Almond Butter

I got a lot of email interest wanting to learn more about the foam roller I pictured in the last post. For those of you interested in getting a foam roller for yourself I got mine through Amazon.com.  I ordered it on a Sunday and it arrived at my house two days later.  If you are new to foam rolling I would probably recommend getting the softer kind for gentle souls instead of the harder one that I bought which is best for crazy foam rolling lunatics.

Need a place to start for some rolling exercises? Here’s a pdf document that has a few demos of the major muscle groups you can start try to un-knottify (plus the guy pictured is a toal hottie. Bonus.)

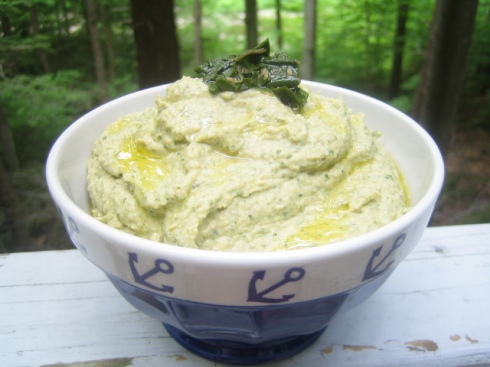
Anyways onto the hummus! I really don’t think I’ve ever made the same hummus twice…it is kinda fun trying out different flavor combinations. Plus this latest version allowed me to use up some leftovers in my fridge. Tweak the recipe to your tastes…more salt/less oil (for you fat-free-freaks)/or maybe some different spices. Basically just do whatever makes you and your wild taste buds happy and feel free to throw this recipe out the window!

Super Green Hummus

1/2 can chickpeas, drained and rinsedIMG_3818

1/2 can white beans, drained and rinsed

3 Tbsp tahini

2 Tbsp olive oil

juice of 1/2 lemon

1 clove garlic

1/2 cup cooked red chard

1/2 tsp cumin

1/2 tsp salt

pinch cayenne

about 1/4 cup water

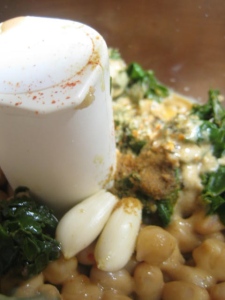
Throw all the ingredients with wild abandon into your food processor or blender.

Now pulse for a couple minutes and get hypnotized by the swirly designs the hummus is making in the food processor…

OK wake up! And get your crackers/veggies ready for dippage. Adjust seasonings as  needed to make your taste buds deliriously happy.

IMG_3823

Verdict? A+! And this hummus is a fabulous way to sneak more greens into my diet! Whoohoo!

Water Cooler Morsel of the Day:

Are you totally sick of taking pictures of what you eat? Or have you become so totally fabulously popular because of your blog that you long for the simpler times? Read more about the blogging phenomenon in this article by the NYTimes.


I treated my body like a machine throughout college and a few years beyond graduation. Trying in vain to stretch out my ability to play my sport well beyond what was suggested by my doctors and athletic trainers left me with muscles and joints that knot up faster than the average boy scout could tie them.

So thus I find myself in a constant battle to keep my muscles fluid, flexible, and therefore functional. It’s not rare to see me sitting in a chair with a high back wriggling around trying to find a way to work out a knot on my upper back with a pointy part of the chair. Like I’m doing right now.  In public.  Oops.  I should stop, I’m starting to get weird looks. I kind of look like this little guy: Pole Dancing Bear.

I’m going to let you in on one of my secrets to getting out muscle knots. I won’t bore you with the gritty details because this device is highly technical, complicated, and complex….OK, I lied. It’s foam molded into a cylinder shape.

IMG_3795

If you’ve had issues with muscle knots and tightness and/or can’t afford a regular visit to your friendly neighborhood massage therapist then I highly recommend trying this sucker out.  It costs around $20 and with regular use will help you control your muscle tightness.  There’s a great article in this magazine which explains much better than I ever could about how this works and why muscle knots suck. Don’t get me wrong, using a foam roller HURTS (hurts real bad). But it feels so good at the same time. Yep call me crazy, call me a crazy foam rolling lunatic. But try this foam roller once along the length of your entire back and you’ll thank me.

Got your muscles at peace? Now share the love with your tummy with the nooks and crannies of English muffins! I’ve been seeing a few geniuses around the blog world making these bad boys and I just had to make some for myself.  Trust me, after you make these you will never go back to store bought.

Lazy Girl English Muffins

(inspired by Wing It Vegan)

Makes three, but double it if you please and freeze the rest for later

1 cup whole wheat flour

1/4 cup old-fashioned oats ground into a flour

1 Tbsp brown sugar

1/2 tsp salt

3/4 tsp yeast

1/2 cup soy milk or water (nuke in microwave until it reaches about 110°F)

1 Tbsp olive oil (optional for you fat-free freaks. j/k I still love you)

Mix all ingredients in a bowl small enough to fit in your microwave (more on that later) for two minutes or until everything is well mixed.

Nuke 1 mug of water in the microwave for about 2 minutes or until boiling.  Place dough in the microwave keeping the mug with the boiling water in it and close the door (now your microwave is a warm moist environment perfect for the care and feeding of yeast). Set the kitchen timer for 30 minutes or 20 minutes if you’re really important and got stuff to do.

IMG_3798

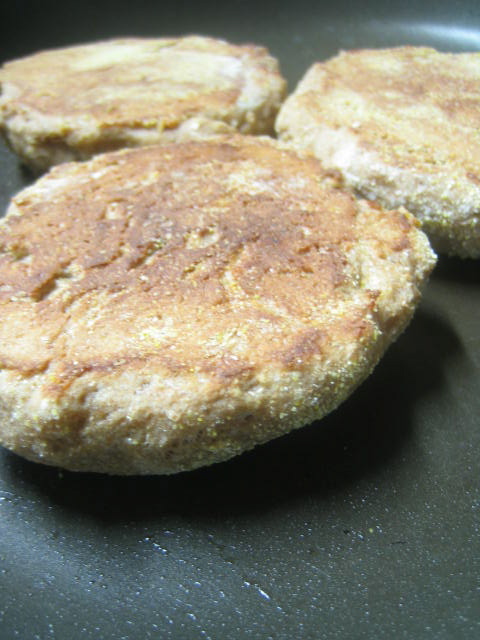
Heat up large skillet over low heat and spray with a non-stick spray or olive oil. Divide dough into three pieces and shape each into a four inch diameter disc (hockey puck style). Put a couple Tbsp of corn meal into a shallow dish and dunk dough in corn meal, coating each side.  Cook muffins in pan for about 8-10 minutes each side or until they start turning brown.

IMG_3799

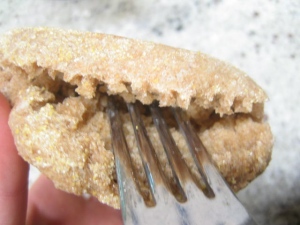
Divide with fork.

Place in toaster.

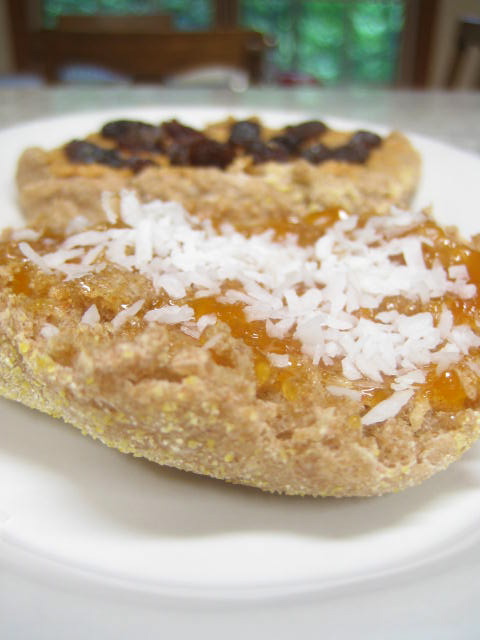
Fill nooks and crannies with your favorite toppings.

Devour.

Repeat as necessary.

IMG_3802

Free Stuff:

Want a bunch of free stuff? So do I. Check out our Gluten Free Gidget for some giveaway madness.